How do I edit account information?
Double-click an account in the sidebar or select it and choose Edit > Show Inspector. The account inspector will open next to the account to show you the account details:
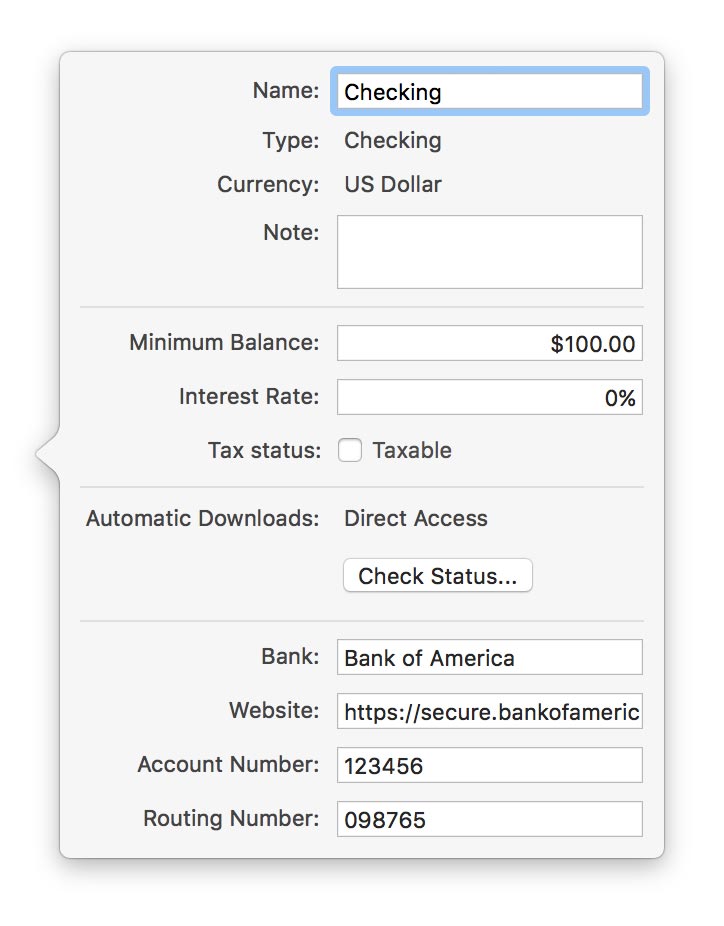
Add information or make changes as appropriate, then click "Save" to keep your changes or "Cancel" to discard them. Following is a description of the information displayed in the inspector:
- Name
- The name of the account. Each account name must be unique, and cannot have the same name as a category. Any changes made to an account's name will automatically update all transactions, reports, budgets, etc. that are associated with the account.
- Type
- The type of account, such as checking or savings. This setting was chosen when the account was first created, and can only be changed to similar account types. For example, a checking account cannot be changed to a credit card type but it could be changed to a savings account or a cash account.
- Currency
- The default currency used by the account. This setting was chosen when the account was first created, and cannot be changed.
- Note
- Any additional information you want to record about the account. For personal use only.
- Minimum Balance/Credit Limit
- The lowest balance allowed for the account before fees are levied. Account Summary reports for credit cards use this figure to calculate the available credit.
- Interest Rate
- The interest rate or APR associated with the account. For credit cards, this rate is used when calculating figures in Loan & Debt reports. For loans, the interest rate should be entered in the loan settings instead.
- Tax Status
- Tracks whether or not the account is considered taxable. The US Tax report groups accounts according to this setting.
- Automatic Downloads
- The type of
online connection that is configured for the account:
- Direct Access: The account is configured with Direct Access. Click the "Update" button on the toolbar to download and import new transactions.
- Direct Download (OFX): The account is configured for direct download. Click the "Update" button on the toolbar to download and import new transactions.
- Web Download: The account is configured for web download. Select the appropriate shortcut in the "Websites" section of the sidebar to open Banktivity's built-in browser. There you can log in to the financial institution's website to download and import new transactions.
- Not configured: The account is not configured for any download method. Click "Configure Connection" to set up Direct Access or direct download, or enter a URL in the "Website" field below to configure web download.
- Bank
- The name of the financial institution where the account is held. This name is displayed on the account's website shortcut, and is used to look up the financial institution's contact information in the Contacts app when printing checks.
- Website
- The web address of the login page for the financial institution where the account is held. When a URL is present in this field, Banktivity will automatically create an item in the "Website" section of the sidebar for that address. Removing the URL will delete the the item from the sidebar.
- Account Number
- The account number for the account. Banktivity prints this number in MICR code along the bottom of checks that are configured with the MICR code field.
- Routing Number
- The ABA routing number for the account. Banktivity prints this number in MICR code along the bottom of checks that are configured with the MICR code field.