How do I use split transactions?
Banktivity allows you to categorize your transactions so that you can track them on reports and budgets, but what happens when a single transaction needs to be broken down and assigned to multiple categories? For example, let's say that you go to the grocery store and spend $50, but you only spend $30 on groceries - the other $20 is spent on pet supplies. How do you enter this into Banktivity without creating two separate transactions?
Split transactions allow you to itemize your transactions so that categories can be assigned to smaller parts of those transactions. You can schedule split transactions and memorize them like other transactions, and use them to transfer portions of transactions in addition to categorizing them.
Create a split transaction
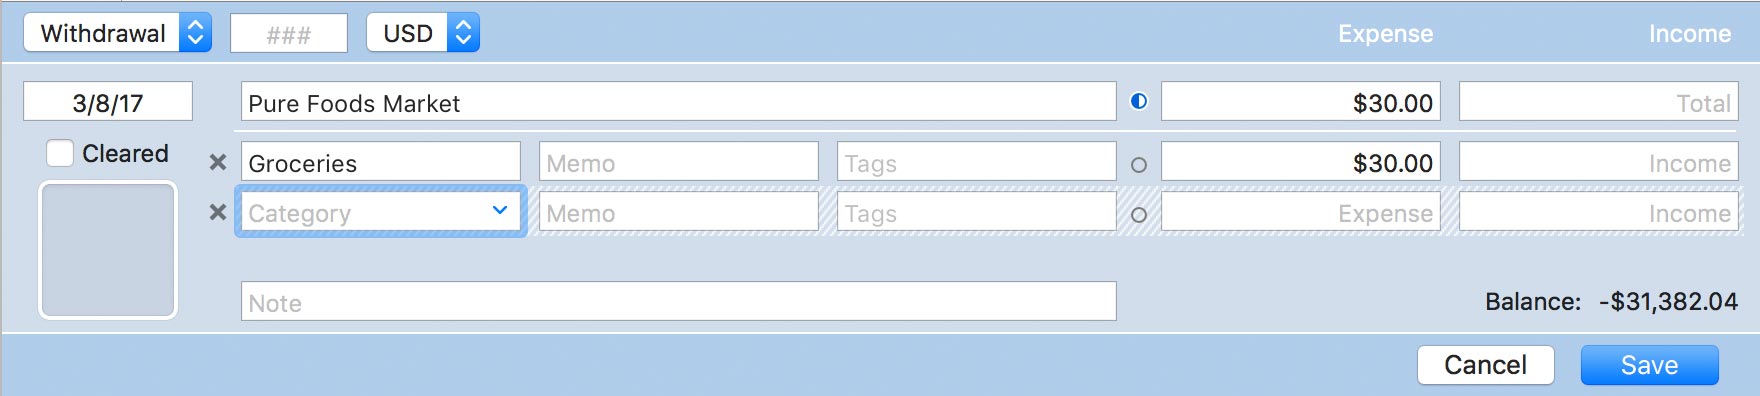
Select one of your accounts and create a new transaction. Choose a transaction type and enter the date, payee, and note as desired. Enter a category, memo, tags, and expense or income amount for the first split item, then click "Split This Transaction." Total expense and total income fields will appear next to the payee, and another line will appear to let you enter the details of the next split item:
Before you continue, consider how you want Banktivity to calculate the transaction totals. Each set of expense and income fields has a circle next to it, and the one that is half-filled is called the split balancer. This icon controls how Banktivity will balance the transaction as you add split items:
- If the transaction total is selected, Banktivity will automatically sum the amounts of the split items you enter and adjust the total.
- If a split item with a category is selected, that item's amount will adjust automatically to balance the split items against the transaction total.
- If a split item without a category is selected, Banktivity will automatically add a new split item with the amount necessary to balance the split items against the transaction total.
Click the circle on the line you want Banktivity to adjust in order to balance the transaction. Banktivity will not let you save a split transaction that is not balanced; the split items must add up to the transaction total.
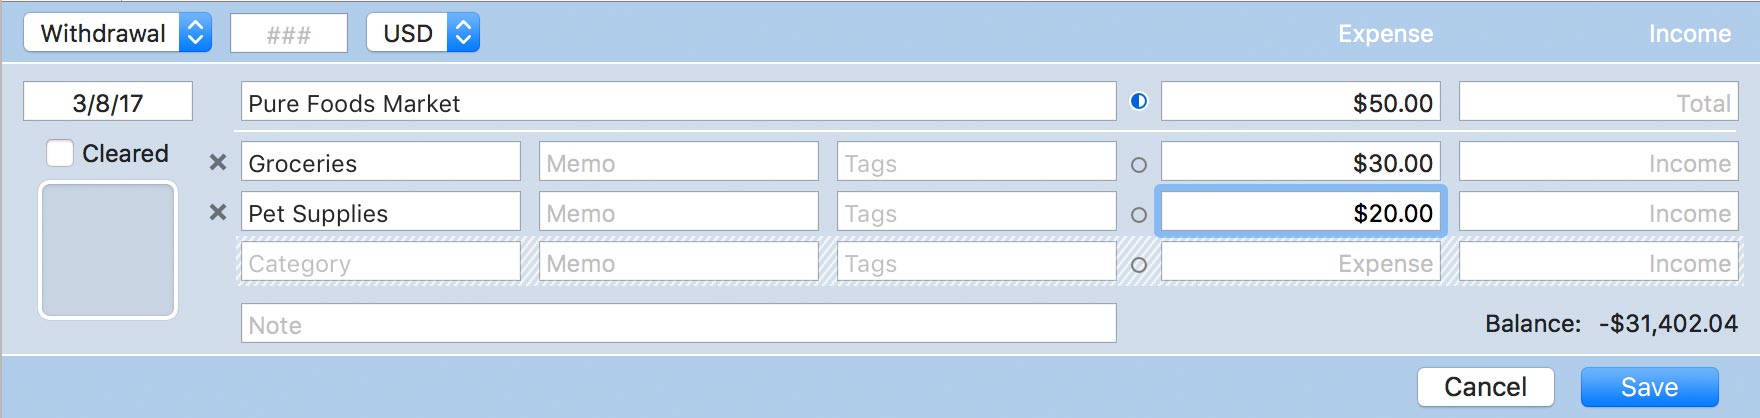
Keep adding split items until all the necessary parts of the transaction have been recorded, then click the "Save" button (or press Return on your keyboard) to save the transaction. The category field on the main transaction will show "split" to indicate that it is a split transaction. Click this "split" button to expand the transaction and view the split item details in the register.

Edit an existing split transaction
Double-click a transaction in the account register, or select it and press the Enter key, to open the transaction editor. Assign the split balancer to the line item you want Banktivity to adjust automatically by clicking the circle on that line. Edit the split items as needed, and Banktivity will ensure that the transaction remains balanced. To remove a split item, click the 'x' button on the left side of that line. When you are finished adjusting the transaction, click "Save" to record your changes.
Record a paycheck
A common use for split transactions is to record paychecks with deductions. Here is an example to illustrate how you would enter a paycheck in Banktivity:
- Create a transaction in the account where your paycheck is being deposited. Set its type to "Deposit," enter the date, and type in the payee. Select the "Paychecks/Wages" category (or whatever category you prefer to use for tracking your income) and enter your gross pay in the income field.
-
Click "Split This Transaction," then click the circle next to the transaction total to make sure Banktivity adjusts the total as you enter the deductions.
If you prefer to enter your net pay instead of gross, make sure you assign the split balancer to the Paychecks/Wages split item instead of the transaction total. This will allow Banktivity to calculate your gross pay automatically as you enter deductions.
- Record a split item for each deduction that is taken out of your pay. Each one should be assigned to a unique category and have its amount recorded in the expense field. Transfers to other accounts (e.g. 401k contributions) can be recorded by specifying the name of the destination account in the split item category field.
- Once you have finished recording all deductions, save the transaction. You should see that the transaction total represents the deposit of your net pay into the account, and all of the deductions are categorized appropriately so that you can track them with reports and budgets.