How do I group accounts?
Account groups can be created to organize your accounts hierarchically.
Create an account group
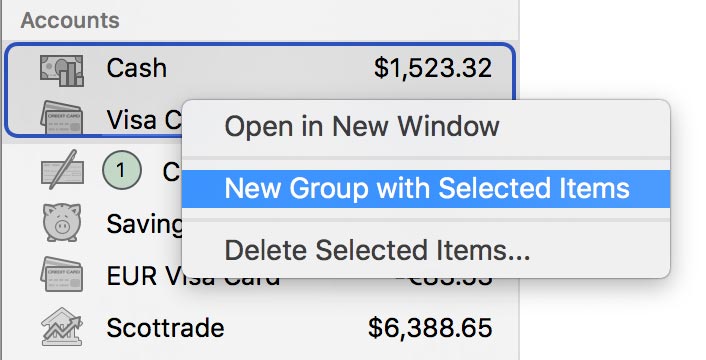
Command-click the accounts in the sidebar you want to group together, then Control-click one of them and choose "New Group with Selected Items" from the contextual menu. Enter a name for the group and click "Save" to add it to the sidebar.

Once a group has been created, you can use drag and drop to move accounts in and out of it. Click the small disclosure triangle next to the group's icon to hide or display the accounts within it.

The amount displayed next to a group's name represents the total balance of all the accounts within the group. Selecting the account group itself will display a list of the accounts within the group, along with their balances, in the current workspace. Click on an account to view its transaction register.
When you add accounts that use different currencies to a group, the group's total is displayed in the document's display currency. Any accounts that use a different currency will have their balances converted to the group's currency (using Banktivity's current exchange rates) before they are added to the total.
Delete an account group
Control-click the group and choose "Delete" from the contextual menu. A sheet will appear asking you to confirm that you want to permanently delete the group. Only the group itself will be deleted; the accounts contained within it will remain in the sidebar.